
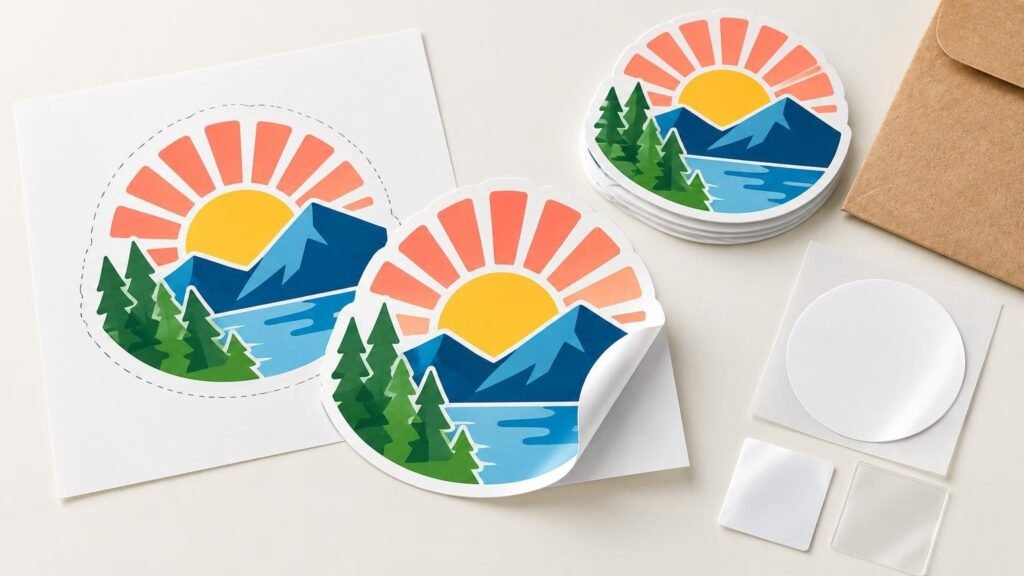
TLDR
To get stickers made professionally, define where they will be used, choose the right delivery format, measure the application area, prepare artwork at the final size, upload the file, and review the digital proof carefully. The proof is your last practical checkpoint for dimensions, cut placement, borders, text, transparency, and layout. Plan proofing, production, and carrier transit as separate stages rather than assuming the order will arrive a fixed number of days after upload.
Learning how to get stickers made is mostly about making a few production decisions in the right order. A beautiful logo is only the starting point. The printer still needs to know how large it should be, where it should be cut, whether transparent areas are intentional, and how the finished piece will be supplied.
The best format depends on the job. An artist handing out merchandise has different needs from a business applying the same label to hundreds of jars. Settle the real-world use first, and the artwork and ordering choices become much easier.
How to get stickers made in six steps
- Define the use: Decide what surface the sticker will go on, how it will be distributed, and whether it is decorative, promotional, informational, or packaging-oriented.
- Choose a format: Select individual stickers, sticker sheets, or roll labels based on how the pieces will be stored, handed out, or applied.
- Choose size, shape, material, and finish: Measure the intended surface instead of judging size only on a monitor.
- Prepare the artwork: Use a clean vector file or a sufficiently high-resolution raster image at the final printed dimensions.
- Upload and explain special instructions: Identify intentional transparent areas, border preferences, specialty-material effects, or placement requirements.
- Review and approve the proof: Check dimensions, cut placement, text, URLs, transparency, and the complete layout before production begins.
Choose the sticker format around the workflow
YouStickers describes its ordering service as supporting individual vinyl stickers, sticker sheets, and packaging-oriented roll labels, with an online proof provided before production. Those formats may contain similar artwork, but they arrive and function differently.
| Format | What arrives | Best fit | Ordering implication |
|---|---|---|---|
| Individual stickers | Separate pieces, typically cut around each design | Merchandise, event handouts, order inserts, laptops, and water bottles | Easy to distribute one at a time; choose the finished size of each piece. |
| Sticker sheets | Multiple kiss-cut stickers on a shared backing sheet | Design collections, planner sets, branded kits, and multi-piece inserts | Plan both the individual sticker sizes and the overall sheet layout. |
| Roll labels | Repeated labels supplied on a roll | Jars, bottles, pouches, boxes, and repeat packaging work | Confirm container fit and application workflow before placing a larger order. |
A sticker sheet uses kiss cuts: the blade cuts through the sticker material but leaves the shared backing intact. Individual die-cut stickers are normally cut through the sticker material and backing around the outer shape. For packaging, the decision between sheets and rolls is often about application speed and organization rather than artwork quality. The practical tradeoffs are covered in this roll-label and sticker-sheet comparison.
If you are ordering merchandise or promotional pieces, individual stickers are usually the simplest format. If several small designs belong together, a sheet keeps them organized. If workers will repeatedly label products, rolls can make handling more efficient. When you are ready to configure an order, compare the available custom sticker printing options against that workflow.
Measure the surface before choosing a size
A two-inch sticker can look large in a design application and surprisingly small on a shipping box. Measure the intended surface with a ruler, then create a paper mockup at the proposed dimensions. Place it on the bottle, laptop, mailer, window, or package to evaluate the real scale.
Review the design at its final physical size, not only while zoomed in. Small contact details, thin lines, social handles, legal copy, and QR codes can become difficult to use when reduced. A QR code should be tested at the intended printed size and in realistic placement conditions before a large order is approved. Curved containers also reduce the usable front-facing area, so a label that fits mathematically may still wrap farther around the container than expected.
Shape affects the apparent size too. A three-inch-wide oval does not provide the same usable design area as a three-inch square. Base the dimensions on the artwork’s actual shape and leave breathing room around important elements.
Prepare artwork for its final printed size
Vector artwork is generally the most flexible option for logos, text, and simple illustrations. Vector paths can be enlarged without turning visibly blocky. Common vector-oriented formats include AI, SVG, and some PDFs, although the current upload control should always be checked before assuming a particular format is accepted.
Raster artwork, including photographs and pixel-based illustrations, has fixed pixel dimensions. YouStickers recommends 300 DPI at final print size as a practical target. That final-size condition matters: an image can report 300 DPI and still be unsuitable if it must be enlarged substantially. PNG is useful when transparency is required, while JPG does not preserve a transparent background.
Do not worry if you cannot draw a production cutline. YouStickers states that it creates the cutline for standard vinyl-sticker orders, so most customers can upload the artwork and evaluate the proposed shape during proofing. If you do supply a cut path, make it clear which path is the intended cut rather than an element that should print.
For a more detailed preflight, use the print-ready sticker file checklist to inspect resolution, cutlines, margins, bleed, and safe areas before uploading.
Understand bleed and safe areas
Bleed is artwork extended beyond the final cut edge. It prevents an unwanted sliver of unprinted material from appearing if normal trimming variation shifts the cut slightly. Adobe’s explanation of printer marks and bleed illustrates the underlying print concept, but the printer’s specification should determine the amount used for a particular product.
Do not apply one universal bleed measurement to every sticker product. YouStickers gives sticker-sheet-specific guidance of approximately 1/8 inch, or 3 mm, of bleed and a similar inside clearance for important text and logos. Other products may use a different template or proofing approach. The safe area is the space inside the cut where important content should remain; backgrounds may extend into bleed, but phone numbers and logos should not.
Plan clear stickers deliberately
In a clear sticker file, an empty or transparent area may allow the application surface to show through. That can look clean on glass but may reduce contrast on dark bottles or visually busy packaging. YouStickers says a white underprint can keep selected colors more vivid and opaque on clear stickers. Specify which areas should receive white ink and verify that interpretation in the proof.
Treat proof approval as a production decision
A digital proof translates the uploaded design into a proposed physical product. It should show the planned shape, cutline or border, overall placement, and final dimensions. YouStickers states that customers receive an online proof before production.
Inspect the proof slowly. Check the following items even if the original file seemed correct:
- Final width and height, including the units of measurement
- Spelling, phone numbers, email addresses, dates, and social handles
- URLs and QR codes
- Cut shape and border consistency
- Distance between important content and the cut edge
- Small text and thin details at actual printed size
- Orientation and sheet layout
- Transparent areas and any intended white underprint
- Whether specialty material is expected to show through the correct parts of the design
Ask for a revision if something is unclear. Proof changes are much easier than correcting a completed custom order. Remember that an on-screen proof is primarily a layout and cut checkpoint, not a physical color-match guarantee. YouStickers notes that converting screen-oriented RGB colors for CMYK printing can cause visible shifts. Screen brightness, the printed material, laminate, and surrounding surface can also affect how color is perceived.
Plan delivery as separate stages
Do not calculate arrival from production time alone. A custom order normally moves through artwork review and proof approval, production or processing, and carrier transit. A delay in approving the proof can move the entire schedule, even if the production stage itself remains unchanged.
YouStickers’ published shipping policy separates made-to-order processing from transit and lists shipping estimates by service. Because those estimates, rush options, and carrier conditions can change, check the current product page, shipping policy, and checkout estimate for the specific order. For a fixed event date, allow contingency time for proof revisions or carrier disruption rather than scheduling delivery for the last possible day.
Pre-order checklist
- Confirm what surface the sticker will be applied to.
- Choose individual stickers, sheets, or rolls based on the application workflow.
- Measure the surface and make a paper mockup at final size.
- Check all text and scannable elements at actual printed size.
- Use vector artwork where practical or a high-resolution raster file at final size.
- Preserve transparency with an appropriate file format when needed.
- Identify intentional borders, clear areas, and white-underprint regions.
- Confirm product-specific bleed guidance rather than assuming one standard.
- Review every detail of the digital proof before approving it.
- Budget separately for proofing, production, and carrier transit.
- Save the approved proof and order details for reference.
Frequently asked questions
What file should I upload to get stickers made?
Use a vector file such as AI, SVG, or a suitable PDF when scalable logos and text are important, or upload a high-resolution PNG or JPG at the final print size. Use PNG when the design needs transparency. Confirm the formats shown in the current upload workflow because accepted file types can differ by product.
Do I need to create my own cutline?
Not necessarily. YouStickers states that it can create the cutline for vinyl stickers. Review that cutline in the proof, paying particular attention to tight corners, narrow extensions, and the consistency of any border.
Are sticker sheets or individual stickers better?
Choose sheets when several designs should stay together on one backing or when kiss-cut pieces are easier to peel and organize. Choose individual stickers for handouts, merchandise, package inserts, or selling one design at a time.
Do all sticker files need bleed?
Artwork that prints to the cut edge generally needs some way to accommodate cutting variation, but the required setup is product-specific. Ask the printer or follow the relevant template. Do not reuse sticker-sheet measurements automatically for every individual or roll product.
What if there is a problem with the finished order?
Photograph the issue, retain the packaging and order details, and contact the printer promptly. The current YouStickers policy says made-to-order products generally are not returnable for a change of mind and provides a reporting process for production or shipping issues. Review the live policy for current deadlines and requirements.
The practical next step
Start with the application surface, not the order form. Once you know where the sticker will go and how it will be distributed or applied, choose the format, test the size physically, and prepare the cleanest artwork available. Then treat the proof as the moment when a digital design becomes a production plan. Careful proof review is the simplest way to catch an incorrect size, awkward cut, missing white underprint, or unreadable detail before it becomes part of the finished order.
References
- Custom Stickers & Labels | Free Proofs | YouStickers
- Vinyl Stickers | YouStickers | Durable, Waterproof Vinyl, Any Shape & Quantity
- Sticker Sheets – YouStickers
- How to add printer’s marks and bleeds in Illustrator | Illustrator
- Adobe Learn – Learn InDesign – Set a print bleed
- Clear Stickers – YouStickers
- youstickers.com
- What is Full-Color Printing at YouStickers? – YouStickers
- Shipping Policy – YouStickers
- Refund and Returns Policy – YouStickers
