
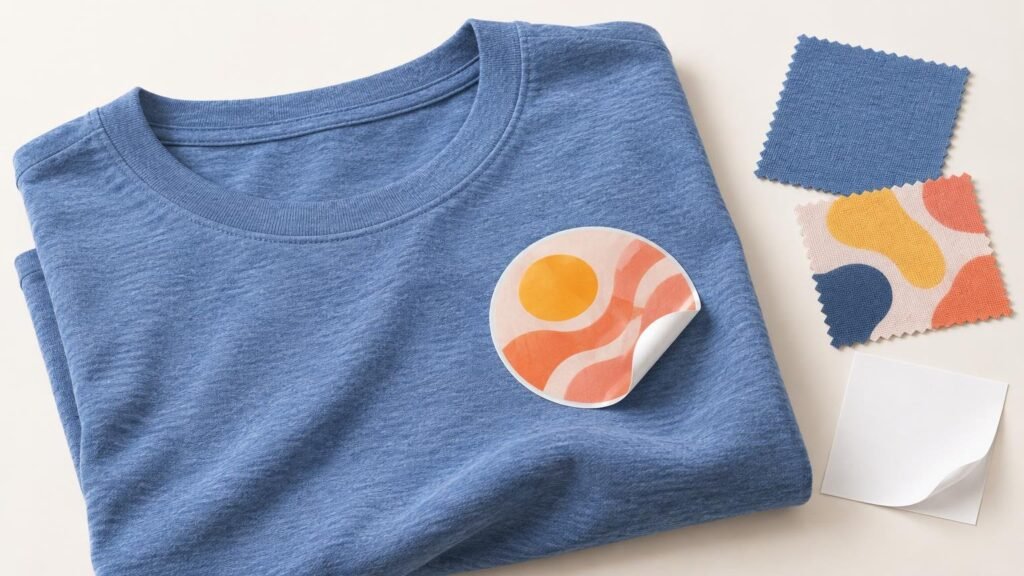
Yes, you can put stickers on fabric, but an ordinary pressure-sensitive sticker is usually a temporary solution. It may hold long enough for an event, costume, photo, display, or short-term identification job. It is much less dependable on clothing that bends, stretches, rubs against other surfaces, or goes through a washer and dryer.
The key distinction is the application system. A conventional sticker bonds when you press its adhesive against a surface. It is not the same product as heat-transfer vinyl, an iron-on label, or another garment transfer designed to be applied with controlled heat and pressure. Calling both products “vinyl” does not make them interchangeable.
Why ordinary stickers struggle on fabric
Pressure-sensitive adhesive works best when it makes close, continuous contact with a suitable surface. Firm application pressure, a clean and dry surface, time, and an appropriate temperature can all improve the bond. Texture reduces the available contact area because the adhesive touches the tops of the fibers instead of forming uniform contact across the surface. The 3M guidance on adhesive selection and substrate surfaces explains why surface texture and contamination matter to adhesive performance.
Fabric also moves in ways that a bottle, laptop, window, or retail box does not. A shirt folds around the body. A tote bag creases when carried. Stretch fabric expands and contracts. Loose fibers can lift with the adhesive, while repeated flexing works at the sticker’s edges. Even a sticker that initially appears secure can begin curling after ordinary handling.
Washing adds water, detergent, agitation, temperature changes, and drying conditions. A sticker described for outdoor use on smooth objects is not automatically suitable for laundering. Those are different environments with different mechanical demands. Standard vinyl stickers should not be treated as washable garment transfers unless the specific manufacturer explicitly provides that use and its application instructions.
When a regular sticker can still be useful
A standard sticker can make sense when the application is intentionally brief and the garment will not be washed while the sticker is attached. Possible examples include a name sticker worn during a short meeting, a temporary costume detail, a photo-shoot prop, or a sticker placed on a fabric-covered display that will remain still.
Results depend heavily on the textile. A sticker has a better chance on tightly woven, smooth, non-stretch fabric than on fleece, felt, ribbed knit, canvas with pronounced texture, or a stretchy athletic garment. Coatings and fabric treatments can also change adhesion, so the only useful test is on the actual item—not merely another fabric that looks similar.
Apply the test sticker to a clean, dry area and press across the entire design, especially around the edges. Leave it in place for the full period required by the project, then bend and handle the material as it will be used. Check whether the sticker lifts, leaves residue, pulls fibers, or changes the fabric’s appearance. Test in an inconspicuous location when the item is valuable or delicate.
Choose the product according to the real job
| Project | Better starting choice | Reason |
|---|---|---|
| Short event or temporary identification | Pressure-sensitive sticker, tested first | Quick application may matter more than long-term wear |
| Washable shirt, hoodie, or tote | Garment transfer or heat-transfer vinyl | Designed for controlled application to compatible textiles |
| Care, size, or identification label | Sewn-in or sew-on fabric label | Mechanical attachment avoids relying only on surface adhesive |
| Packaging, bottles, mailers, or rigid merchandise | Pressure-sensitive sticker or label | Smooth, rigid surfaces generally provide better adhesive contact |
For frequently washed or dry-cleaned fabric labels, Epson recommends sewing the label to the fabric. That approach creates a mechanical attachment rather than asking a surface adhesive to survive the textile’s texture, movement, and cleaning cycle. Epson’s fabric-label guidance provides the relevant recommendation.
For a washable graphic, consider a garment-specific transfer. Heat-transfer systems soften an adhesive so it can flow into pores and openings in the textile before cooling into a stronger bond. This is materially different from simply pressing a peel-and-stick decal onto the fabric.
Heat-transfer vinyl is one common option, but it is not one universal material. Application temperature, dwell time, pressure, peel method, first-wash timing, and laundering limits vary by product. Garment fiber content, stretch, coatings, seams, dye migration, and heat sensitivity can also affect the correct transfer choice. Follow the transfer manufacturer’s instructions rather than improvising hotter temperatures or longer press times. Siser’s heat-transfer vinyl guidance includes product-specific application information and directs users to test before production.
Do not order a standard vinyl sticker for an apparel job
The production implication is simple: tell the printer or transfer supplier where the graphic will be applied before ordering. “I need a vinyl logo” is incomplete. A permanent pressure-sensitive vinyl sticker and heat-transfer vinyl can both contain vinyl, yet they use different adhesive systems, application methods, and artwork workflows.
If the destination is a smooth water bottle, laptop, hard-sided case, package, or similar object, custom vinyl stickers and labels may be the appropriate format. If the destination is a washable shirt, the request should instead specify the garment fabric, intended location, graphic size, stretch requirements, and available application equipment.
Also decide whether you need individual graphics, names and numbers, a repeatable transfer for a production run, or a sewn label. This decision affects how the artwork is prepared and delivered. Cut heat-transfer vinyl, for example, commonly requires mirrored artwork because it is cut and applied face-down from a carrier. A conventional sticker is printed to be viewed from the front and is not prepared through the same workflow.
Prepare artwork for the product you are actually buying
Good source artwork is useful across printing methods, but the production file must match the final process. Vector artwork is especially practical for logos, lettering, and simple shapes because it can be resized without introducing pixelation. Raster artwork should have enough resolution at the final physical size; enlarging a small image during ordering does not create missing detail.
For conventional custom stickers, YouStickers currently accepts PNG, JPG, PDF, AI, and SVG artwork and can create a cutline during proofing when one is not supplied. The cutline controls where the sticker is cut around the design. That proofing service applies to the shape and layout of a standard sticker; it does not convert the resulting product into a washable garment transfer.
A transfer supplier may need different preparation. Depending on the process, the supplier might request mirrored artwork, separated colors, a transparent background, a minimum line weight, or specific handling for white ink. Ask for the process-specific template and file requirements before creating a large set of names, sizes, or variations.
What to check before approving production
A digital proof is a production checkpoint, but the correct checks depend on the product. For a conventional sticker, inspect the final dimensions, cut shape, border consistency, text placement, transparency, and distance between important details and the cut edge. The guide to ordering custom stickers from artwork through proof approval explains that workflow in more detail.
For garment decoration, confirm more than the artwork’s appearance. Verify the exact transfer material, compatible fabric types, application equipment, temperature, time, pressure, peel instructions, and care requirements. If the garment stretches, check whether the selected transfer is intended to move with it. If the fabric is heat-sensitive or prone to dye migration, ask the supplier for a compatible system rather than adjusting the application settings yourself.
- Test the complete application process on the actual garment or an identical sample.
- Use the specified heat, time, pressure, and peel method for that transfer.
- Inspect small text, narrow gaps, and thin lines at the final physical size.
- Check that seams, pockets, zippers, and textured areas will not prevent even pressure.
- Wait for the manufacturer’s stated interval before the first wash.
- Follow the supplied laundering and drying limits.
The practical answer
You can place an ordinary sticker on fabric when you need a temporary graphic and accept that the bond may be unpredictable. Smooth, tightly woven material generally gives it a better chance than fuzzy, coarse, or stretchy fabric, but testing remains essential.
For apparel expected to survive regular wear and cleaning, order a product designed for textiles: a compatible garment transfer, heat-transfer vinyl, or a sewn label. Start with the fabric and use case, then choose the printing and attachment method. That order of decisions prevents the common mistake of buying an attractive vinyl sticker and discovering that it was made for a bottle or laptop rather than a shirt.
Frequently Asked Questions
Will a vinyl sticker stay on fabric in the washing machine?
Do not assume it will. Outdoor durability on a smooth object does not establish wash durability on a garment. Use a textile-specific product unless the sticker manufacturer explicitly approves that exact application.
What fabric gives a temporary sticker the best chance of holding?
Smooth, tightly woven, non-stretch fabric is a better candidate than fuzzy, coarse, ribbed, or stretchy material. Test the actual item because texture, coatings, and treatments can change adhesion.
What is the difference between a regular vinyl sticker and heat-transfer vinyl?
A regular sticker bonds through pressure-sensitive adhesive contact. Heat-transfer vinyl uses controlled heat and pressure to bond with a compatible textile, so the products and application workflows are not interchangeable.
Should frequently washed fabric labels be sewn on?
Sewing is a practical choice because it creates a mechanical attachment. Epson specifically recommends sewing labels onto fabric that will be frequently washed or dry-cleaned.
What should I tell a transfer supplier before ordering?
Provide the garment fiber content, graphic size and location, stretch needs, seams or textured areas, and available application equipment. The supplier can then match the transfer and instructions to the garment instead of relying on improvised heat settings.
References
- Substrate Surface Consideration for Adhesive Selection
- Pressure-Sensitive Labels for Brand Impact & Circularity | Avery Dennison
- Iron-on Label Tips
- EasyWeed – The All-Purpose Heat Transfer Vinyl!
- Common Chemistries of Adhesive Tape | 3M
- Decorate Jerseys & Active Wear Without Scorching
- Custom Sticker Printing | Quality Vinyl | YouStickers
- # Technical Bulletin
- Siser HTV APPLICATION INSTRUCTIONSEasyWeed®, EasyWeed® Electric,EasyWeed® Glow in the Dark, EasyPatterns® Pluson | Poly/cotton blends | 100% Polyester | LeatApplication Instructions (Home Iron):Application Instructions (Heat Press):Laundering:• Wait 24 hours before first wash.
- # QUICK START GUIDE
