
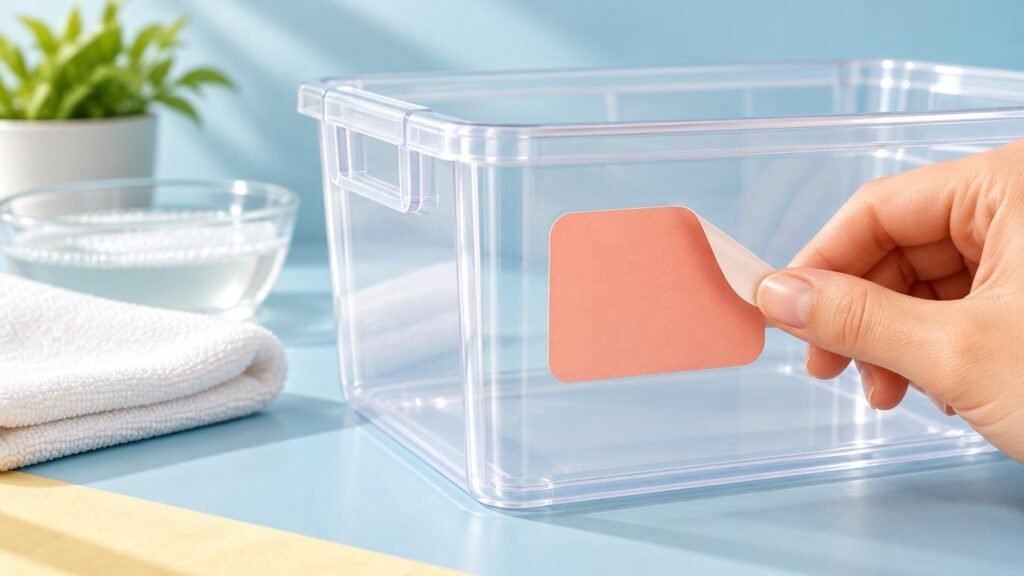
The safest way to remove a sticker from plastic is to start dry: lift one edge with a fingernail or nonabrasive plastic tool, then peel slowly at a low angle. If the sticker resists, use limited warmth only when the item can tolerate it. Clean remaining adhesive with mild soapy water before considering any solvent.
Learning how to remove stickers from plastic is less about finding one powerful cleaner and more about knowing when to stop. Plastic may be clear, painted, printed, coated, rubberized, or sensitive to heat. A method that works on a hard storage bin could cloud an acrylic display, soften a device coating, or remove printed decoration.
Identify the plastic surface before removing the sticker
You do not need to identify the exact polymer in every case, but you should determine how sensitive the object appears to be. Check its care instructions first, especially if it is an appliance, electronic device, collectible, automotive component, or clear display piece.
- Hard, washable plastic: Storage tubs, buckets, and many undecorated containers usually allow the gentlest full process, including a damp cloth and mild dish soap.
- Clear plastic or acrylic: Scratches, haze, and chemical reactions are more visible. Avoid assuming that a cleaner labeled for general household use is appropriate.
- Soft-touch or rubberized plastic: The coating may become tacky, dull, or discolored when exposed to heat, friction, or an incompatible cleaner.
- Printed, painted, or decorated plastic: The surface design may be less resistant than the plastic underneath. Test any moisture or cleaner where damage would not be obvious.
- Electronics and appliance panels: Prevent liquid from entering seams, ports, buttons, vents, or display edges. Follow the device maker’s cleaning directions.
If the object is valuable, irreplaceable, or already deteriorating, do not experiment with stronger solvents. A conservator, manufacturer, or specialist repair service may be the safer next step.
Step 1: Peel slowly at a low angle
Start by trying to remove the sticker without heat or cleaner. Use a fingernail to lift a corner. If that is difficult, slide a flexible plastic card or purpose-made nonabrasive plastic scraper under the edge. Do not force it deeply beneath the sticker.
Pull the sticker back over itself, keeping the peel angle low rather than lifting straight upward. Slow, controlled peeling can reduce tearing and places less abrupt force on the surface. This low-angle technique is also reflected in the 3M removal guidance for applied graphics.
Change direction if one side begins tearing. Sometimes approaching from a different corner lets the adhesive release more evenly. Do not use a metal razor, knife, screwdriver, or abrasive pad on plastic; these can leave permanent scratches or gouges. A nonabrasive plastic edge is the lower-risk choice.
Step 2: Add controlled warmth only if appropriate
When a paper label shreds or a vinyl sticker will not release, limited warmth may soften the adhesive enough to continue peeling. YouStickers’ removal guidance suggests low-to-medium hair-dryer heat for about 20 to 40 seconds while treating heat-sensitive surfaces cautiously.
Keep the dryer moving and hold it far enough away that the surface becomes only gently warm, not hot. Test a short interval, try the edge again, and repeat only if the item remains stable. Avoid concentrated heat on thin packaging, clear acrylic, soft-touch coatings, batteries, screens, and unknown plastics. Heat can warp thin parts or affect coatings before the sticker releases.
If the plastic changes shape, develops an odor, becomes unusually flexible, or feels hot to the touch, stop immediately and let it cool naturally. More heat is not a sensible escalation.
Step 3: Remove light residue with mild soapy water
After the sticker is gone, first rub the residue gently with a clean fingertip or soft microfiber cloth. Fresh adhesive may roll into small pieces without any cleaner. Avoid hard rubbing, which can polish a matte area unevenly or grind debris into clear plastic.
For hard, washable plastic, dampen a cloth with warm water and a small amount of mild dish soap. Hold it against the residue briefly, then wipe gently. Warm soapy water is an initial residue-removal option in YouStickers’ guidance. Do not soak an assembled product unless its manufacturer says immersion is safe.
Repeat the mild treatment rather than immediately reaching for a stronger chemical. Dry the area with a clean cloth and inspect it under angled light. This makes early dulling, fine scratches, or leftover adhesive easier to see.
Step 4: Spot-test before using alcohol or adhesive remover
Rubbing alcohol and commercial adhesive removers are not safe for every plastic, coating, ink, or finish. Before using one, check the item manufacturer’s care instructions and the cleaner’s label. Test a tiny amount on a hidden area, allow it to sit for the intended contact time, wipe it away, and wait long enough to see whether the appearance or feel changes.
A successful spot test lowers risk but does not guarantee that a large visible area will respond identically. Use the smallest practical amount on a cloth rather than pouring cleaner directly onto the object. Keep it away from seams and printed details, and remove the cleaner as directed on its label.
Do not assume that an industrial product is an appropriate household solution. For example, 3M identifies one of its adhesive-remover products as intended for industrial or occupational use rather than consumer sale or use. Product names can also cover different formulas, so the exact label matters.
Know the warning signs and stop early
Stop cleaning if the plastic becomes cloudy, dull, sticky, soft, discolored, crazed with fine cracks, or distorted. These changes may indicate that the cleaner, heat, or friction is affecting the plastic or its surface coating. Wiping harder or adding another chemical can make the damage more noticeable.
Do not mix cleaners. Combining products can create unpredictable reactions and makes it harder to identify what is damaging the surface. If a tested method causes a change, remove any remaining product according to its instructions, ventilate the area when appropriate, and consult the item manufacturer.
Adjust the process for sensitive plastic
Clear plastic and acrylic
Use a clean microfiber cloth and minimal pressure because scratches and haze are easy to see. Begin with dry peeling, followed by a barely damp soapy cloth only if the item’s care guidance allows it. Avoid improvised solvents, abrasive powders, rough sponges, and metal blades.
Soft-touch, painted, or printed plastic
Treat the coating as the vulnerable surface. Skip aggressive rubbing and avoid prolonged heat. Even mild cleaners should be tested because the decoration or coating may react while the underlying plastic remains unchanged. Soft-touch plastics warrant particular caution during sticker and residue removal.
Electronics, device cases, and appliance panels
Turn the device off and unplug it when the manufacturer’s instructions call for that step. Apply any approved cleaner to the cloth, not directly to the device, and keep moisture away from openings. Removable cases should be cleaned separately when their maker permits it. Never use heat near a battery or display unless the manufacturer specifically authorizes the procedure.
What to do when the sticker tears into pieces
Sun exposure, age, and brittle paper can make a sticker separate into fragments. Work in small sections instead of scraping the entire area. Lift one edge, peel what will release, apply a short round of approved gentle warmth if appropriate, and then try again.
Adhesive behavior can vary with the adhesive formulation, condition of the surface, exposure time, heat, and ultraviolet exposure. That is why an old sticker may behave differently from an apparently identical new one. The answer is usually repetition of the least aggressive effective step, not an abrupt jump to a harsh solvent.
Prevent difficult cleanup next time
If a graphic is intended to be temporary, choose an adhesive designed around that removal goal. Removable adhesives generally prioritize cleaner short-term removal, while permanent adhesives prioritize a longer-lasting bond, but neither description guarantees residue-free removal from every surface or after unlimited exposure. The surface, application conditions, and length of use still matter. The comparison of removable and permanent vinyl stickers explains the practical tradeoff.
Clean and dry the surface before applying a new sticker, and avoid placing adhesive over a deteriorating coating. For broader planning, the sticker adhesive guide compares permanent, removable, reusable, and static-cling options. If you are replacing an old graphic with custom stickers, match the adhesive choice to how long the design should stay and whether clean removal is important.
Use the least aggressive method that works
For most hard plastic, the practical sequence is simple: peel slowly at a low angle, add limited gentle warmth if the item tolerates it, clean light residue with mild soapy water, and spot-test before considering any stronger product. Use plastic tools rather than metal blades, and keep liquids away from electronics.
The condition of the surface matters more than finishing the job in one attempt. If you see clouding, tackiness, discoloration, softening, or warping, stop. A small patch of adhesive is usually easier to manage than permanent damage to the plastic beneath it.
