

Custom Bumper Stickers
Say it loud and make it last. Our bumper stickers are printed on thick, outdoor-durable vinyl with a protective laminate that resists sun, rain, road grime, and car-wash wear. We cut to your exact size (classic long rectangles or custom shapes), then finish with a car-safe adhesive that holds on the road—yet still removes cleanly when it’s time for a new message. Printed, cut, and shipped from our Utah facility using materials from American suppliers.
Why these work on cars
- Built for the road: Laminated vinyl shrugs off UV, water, and abrasion, keeping colors crisp season after season.
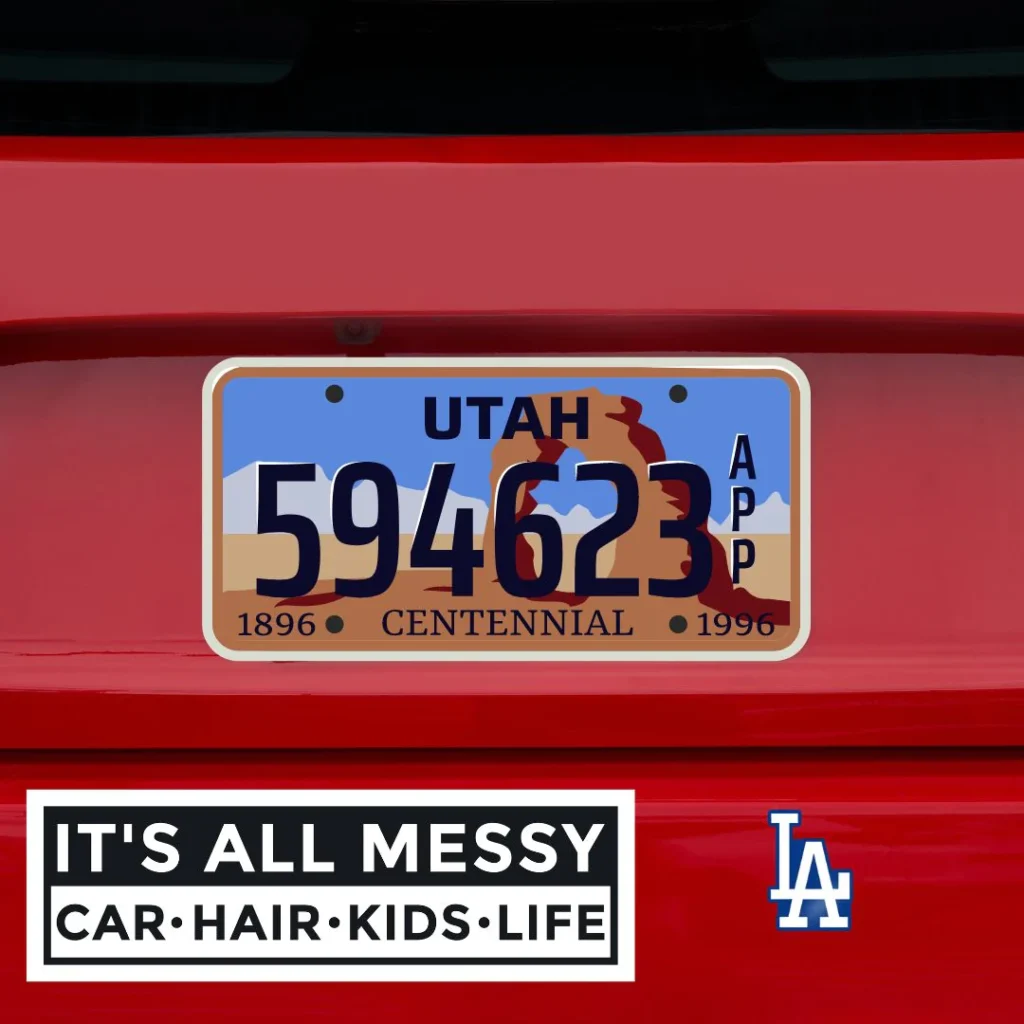
- Made for visibility: Long, low profiles fit modern bumpers and read clearly from a distance—perfect for slogans, causes, and brand marks.
- Paint-conscious adhesive: Sticks strong to painted metal and glass; removes with steady heat and a slow peel when you’re ready to swap.
- Free online proof: Upload your art—we’ll create the cutline, check margins/legibility, and send a proof for approval.
Sizes & shapes (car-friendly)
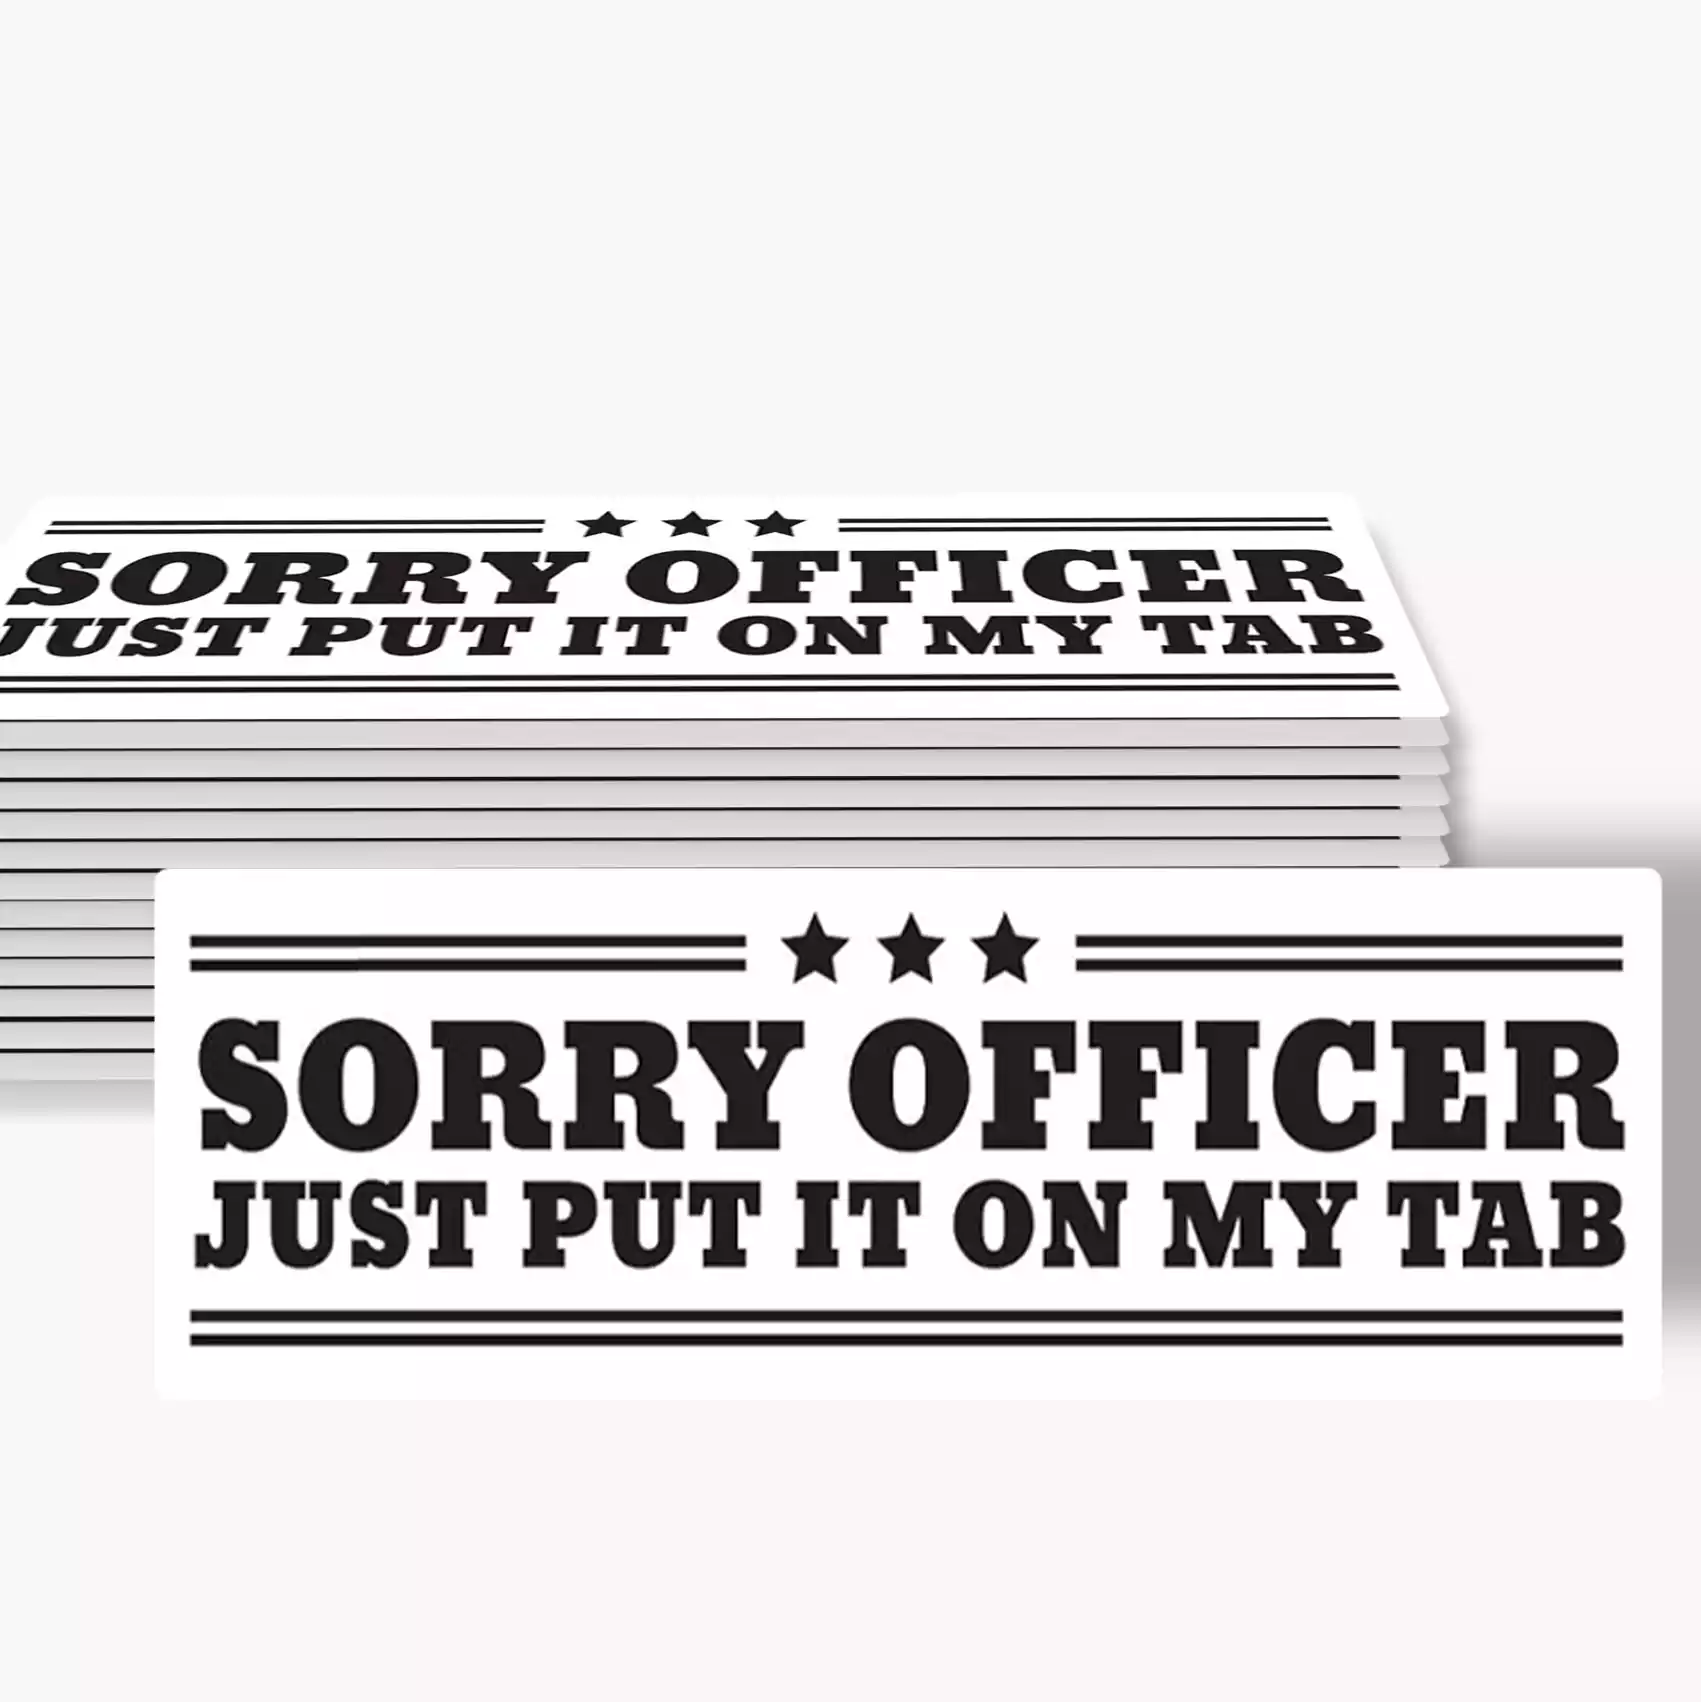
- Popular sizes: 11.5″ × 3″ (classic), 10″ × 3″, 9″ × 3″.
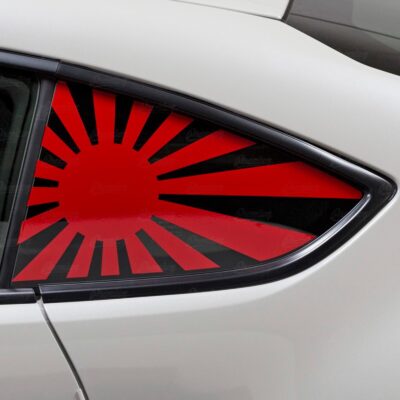
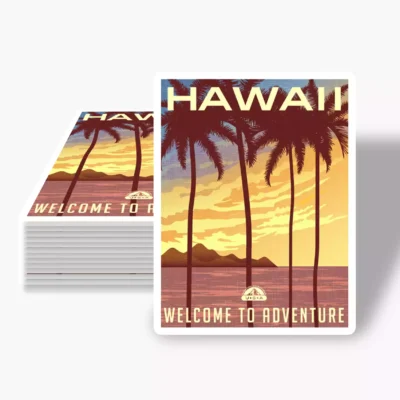
- Other options: 7″ × 5″ rectangles, ovals, or custom contours if you want a badge look.
- Orientation: Horizontal is standard for rear bumpers; vertical or square formats work well for windows, toolboxes, and cases.
Specs & options
- Material: Premium vinyl with matte (low-glare) or gloss (high-shine) laminate
- Adhesive: Pressure-sensitive, vehicle-safe; designed for painted panels and glass
- Finish: UV/abrasion-resistant laminate for outdoor duty
- File types: PNG, JPG, PDF, AI, or SVG (vector or 300 dpi at print size recommended)
- Made in the USA: Utah-based production with American-sourced films and laminates
Design tips for the highway (readability matters)
- Go big on type. Prioritize short headlines and bold fonts; avoid hairline strokes.
- High contrast wins. Dark on light (or light on dark) reads best through glare and dust.
- Mind your margins. Keep critical copy at least 1/8″ (3 mm) inside the cutline; add 1/8″ bleed for full-bleed backgrounds.
- Test the distance. Print a draft at size and view it from 20–30 feet—if it’s not instantly readable, simplify.
Application & care
- Prep first: Wash and dry the surface (no wax or residue). Apply above 50 °F/10 °C if possible.
- Apply slowly: Start at one edge, smooth with a card or squeegee to push out air.
- After install: Avoid waxing or pressure-washing for a few days so adhesive can set.
- Removal: Warm the sticker (sun or hair dryer), peel slowly, and use a plastic scraper if needed; remove any residue with a gentle adhesive remover.