Introduction
Learning how to create your own custom stickers is easier than it sounds. Start with your artwork, choose the sticker format that fits your project, and review a proof before anything gets printed.
The better answer depends on what kind of sticker you want. A logo sticker for your business, a cute art sticker for your shop, a sticker sheet for planner icons, and a waterproof vinyl sticker for a water bottle all need slightly different choices. Not complicated choices. Just choices that matter.
You do not need to be a professional designer to make custom stickers. You need a clear idea, a clean file, and a printer that can help turn your design into the right size, shape, and finish.
This post helps artists, small businesses, creators, teams, and everyday buyers learn how to create your own custom stickers by explaining design setup, file prep, sticker types, sizing, and ordering, so they can make stickers that look clean and print correctly.
How To Create Your Own Custom Stickers In Simple Steps
The basic process for how to create your own custom stickers is simple:
- Choose what the sticker is for.
- Create or upload your design.
- Pick the sticker type.
- Choose a size.
- Use a high-quality file.
- Review the proof.
- Approve the order for printing.
That process works for business stickers, artist stickers, packaging stickers, waterproof vinyl stickers, sticker sheets, holographic stickers, and more.
The small details depend on how the sticker will be used. A sticker for a laptop may need a different material than a sticker for a product box. A sticker sheet needs different spacing than one large die cut sticker. That is why it helps to make the main decisions before you upload the file.
Start With The Sticker’s Purpose
Before opening Canva, Procreate, Illustrator, Photoshop, or any other design tool, decide what the sticker needs to do.
A packaging sticker should be clear and easy to read. A giveaway sticker should be simple and memorable. A sticker sheet should feel organized. A merch sticker should look good enough that someone wants to keep it.
Here is a simple guide:
| Sticker Goal | Best Sticker Type |
|---|---|
| Logo stickers | Custom vinyl stickers or die cut stickers |
| Artist merch | Die cut stickers or sticker sheets |
| Product packaging | Roll labels or logo stickers |
| Planner stickers | Sticker sheets |
| Water bottles and laptops | Laminated vinyl stickers |
| Eye-catching designs | Holographic stickers |
| Glass, jars, or windows | Clear stickers |
A big part of learning how to create your own custom stickers is matching the sticker format to the way you plan to use it. Do that first, and the design choices get much easier.
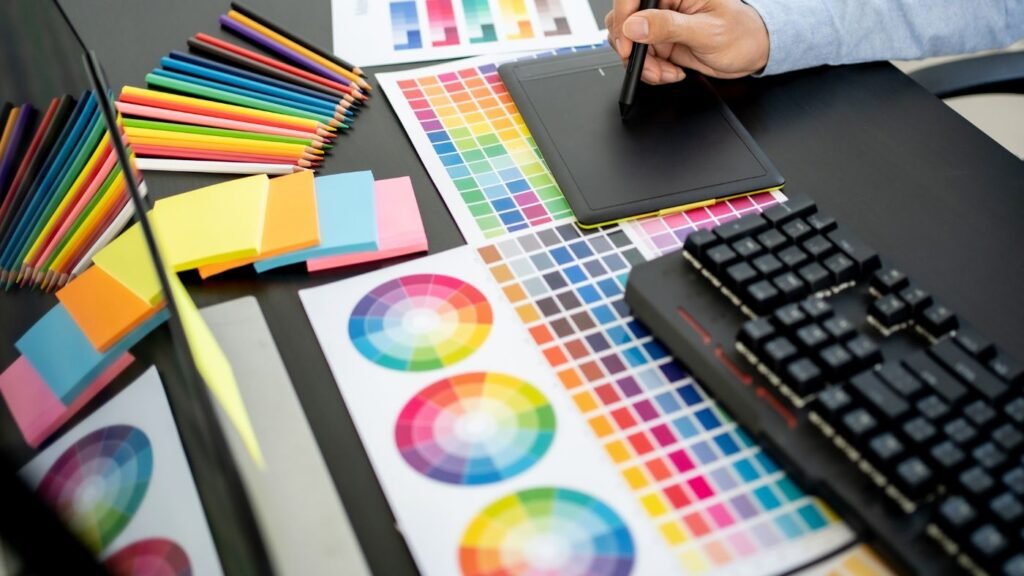
Create A Simple, Readable Design
The best sticker designs are usually easy to understand quickly. That does not mean boring. It means the main idea is clear.
Use one strong subject, logo, icon, phrase, mascot, character, or illustration. Keep small text to a minimum. Avoid packing every detail into one tiny sticker.
A sticker is not a brochure. It is a small printed object that people may see from arm’s length. Clean shapes, strong contrast, and readable details matter.
Good custom sticker ideas include:
- A business logo
- A mascot
- A short slogan
- A product icon
- A character drawing
- A pet illustration
- A funny phrase
- A simple symbol
- A sticker sheet of related designs
If you are stuck, start simple. A clean logo sticker or one strong illustration is usually better than a crowded layout.
Choose The Right Sticker Type
The sticker type changes how the final product feels and how people use it.
Die cut stickers are cut around the shape of your design. They are great for logos, artwork, mascots, characters, and most individual custom stickers.
Kiss cut stickers are cut through the sticker layer but not through the backing. They are easier to peel and work well for delicate shapes or designs that need extra backing.
Sticker sheets place several peelable stickers on one sheet. They are great for artists, planner stickers, themed sets, freebies, icons, and small product bundles.
Clear stickers work well on glass, jars, bottles, windows, and clean packaging where you want the background to show through.
Holographic stickers add a rainbow shine. They work well for art, merch, promos, fantasy designs, anime-style designs, and anything that benefits from a more eye-catching finish.
Roll labels are best for product packaging when you need to apply many stickers quickly and consistently.
The easiest way to choose is to ask, “Where will this sticker go?” Once you know that, the right format is usually obvious.
Pick A Size That Fits The Design
Sticker size is one of the easiest places to make a mistake.
A 2-inch sticker is good for small logos, simple icons, packaging inserts, and small character designs. A 3-inch sticker is the safest all-purpose size for most custom stickers. A 4-inch sticker works better for detailed artwork, premium merch, and designs with more visual detail.
For sticker sheets, the sheet size matters too. You need enough space between each design so each sticker peels cleanly.
A simple rule: small stickers need simple designs. Detailed designs need more room.
If you are not sure what size to choose, review the proof carefully. A good proof should show whether the design feels too small, too crowded, or just right.
Use The Best File You Have
If you are learning how to create your own custom stickers from a design file, start with the cleanest artwork version you have.
For logos, vector files are best. Common vector formats include AI, SVG, EPS, and PDF. Vector files can scale cleanly, which helps keep logos, text, and shapes sharp.
For illustrations, photos, and hand-drawn artwork, high-resolution PNG, JPG, TIFF, PSD, or PDF files can work well. A transparent PNG is especially useful for die cut stickers because it makes the shape of the design easier to understand.
Avoid screenshots, tiny social media images, blurry files, and compressed artwork. Those may look fine on a phone, but they often print soft or jagged.
YouStickers.com accepts common upload formats and can usually help during proofing if your file is not fully print-ready.
Do You Need To Make A Cutline?
Usually, no.
A cutline tells the cutting machine where to cut the sticker. Designers sometimes create their own cutline in Illustrator or another vector program. That can be useful if you want full control.
But most people do not need to make one. You can upload your artwork, and the proofing process can show how the sticker will be cut. That is especially helpful for beginners.
You do not need to understand every technical detail to learn how to create your own custom stickers. In most cases, you can upload your artwork and review the cut shape during proofing.
Check The Proof Before Printing
The proof is where your sticker becomes real.
Before approving the proof, check:
- The sticker size
- The cut shape
- The border
- The spelling
- The artwork placement
- The background
- The small text
- The overall layout
Do not rush this step. The proof is not just a formality. It is your best chance to catch problems before production.
If something looks off, ask for a revision. It is much easier to adjust the proof than to fix a printed order.
Order Custom Stickers From YouStickers.com
The easiest way to learn how to create your own custom stickers is to start with a printer that gives you clear product choices and a proof before production.
YouStickers.com lets you upload your artwork, choose the sticker type, pick the size and quantity, and review a free online proof before production. That process is useful because you do not have to know every technical sticker detail before getting started.
Use custom stickers if you want a flexible starting point. Die-cut stickers are great for individual logos or artwork, while sticker sheets are the best for multiple designs. Choose holographic stickers if you want a rainbow finish, or clear stickers if you want the surface underneath to show through.
For most first-time projects, custom vinyl stickers or die cut stickers are the best starting point. They are flexible, useful, and easy to hand out, sell, or include in packaging.
Common Mistakes To Avoid
The first mistake is using a low-resolution file. If the artwork is blurry before printing, the sticker will probably print blurry too.
The second mistake is making the design too detailed for the size. Tiny text, thin lines, and small facial details can disappear on a small sticker.
The third mistake is choosing the wrong product. A sticker sheet is better for several small designs. A die cut sticker is better for one main design. A roll label is better for packaging.
The fourth mistake is skipping the proof. Always review the proof before approval.
The fifth mistake is designing without thinking about where the sticker will go. A sticker for a laptop, bottle, box, window, or candle jar may need a different material or finish.
Conclusion
Learning how to create your own custom stickers comes down to a few simple choices: clear artwork, the right sticker type, a practical size, and a proof you review carefully before printing.
You do not need perfect design skills to make good stickers. You need artwork that is clear enough to print, a format that fits the use case, and a printer that gives you a proof before production.
For most people, YouStickers.com is the easiest place to start. Upload your design, choose the sticker style, review the proof, and turn your idea into real custom stickers.

