You’ve probably saved more mood boards than you care to admit, and that’s fine—collecting ideas is the easy part. The harder move is turning all that inspiration into a room that looks intentional and finished without repainting or commissioning a mural. Sticker walls sit in that sweet spot. They deliver the look of custom work with far less risk, and they’re flexible enough to grow with your space. Done thoughtfully, a sticker wall doesn’t read like a teenager’s locker; it reads like design.
Start with intention (and scale), not a shopping cart
Before you order anything, decide what you want this wall to do for the room. Calm a busy living area? Add personality to a rental bedroom? Give a home office some energy on camera? That intention is the filter for everything that follows—color, subject matter, and placement. If the goal is calm, you’ll favor softer palettes and fewer focal points. If you need energy, you’ll reach for bolder contrast and a little asymmetry.
Scale is where Pinterest dreams tend to fall apart. Screens flatten everything, so it’s easy to underestimate how big your anchors should be in real space. Err on the side of larger hero pieces than you think you need, then backfill with medium and small accents. If you’re second-guessing sizes, mock them up with painter’s tape or sheets of paper cut to the rough footprint. This quick step tells you more than ten product pages ever will.
Material and finish matter too. Matte vinyl photographs beautifully and avoids glare in bright rooms. Gloss is punchy and works well on glass, mirrors, or darker designs. If the wall has heavier texture, simpler shapes will adhere more predictably than super-intricate cut lines. And if you’re printing your own designs, order a mix that mirrors your layout plan—several larger anchors, more mids, a handful of smalls—so you can compose on the wall without running out of the pieces that actually make the design work. When you’re ready to create, custom stickers let you upload art, pick finishes, and dial in sizes that make sense for walls rather than laptops.
A plan that looks designed, not decorated
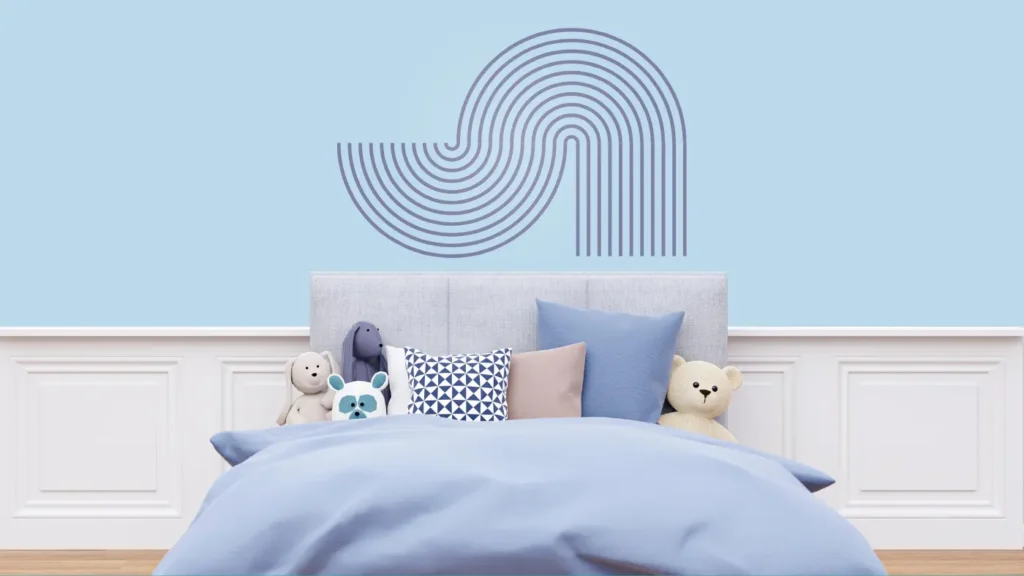
The difference between “cute” and “considered” is composition. The easiest way to keep things polished is to define a zone. You don’t need to cover an entire wall. Frame a sofa, wrap a headboard, run a band above a desk, or cluster around a mirror. Constraining the field gives you built-in margin—the negative space that makes the arrangement breathe and signals that it’s deliberate.
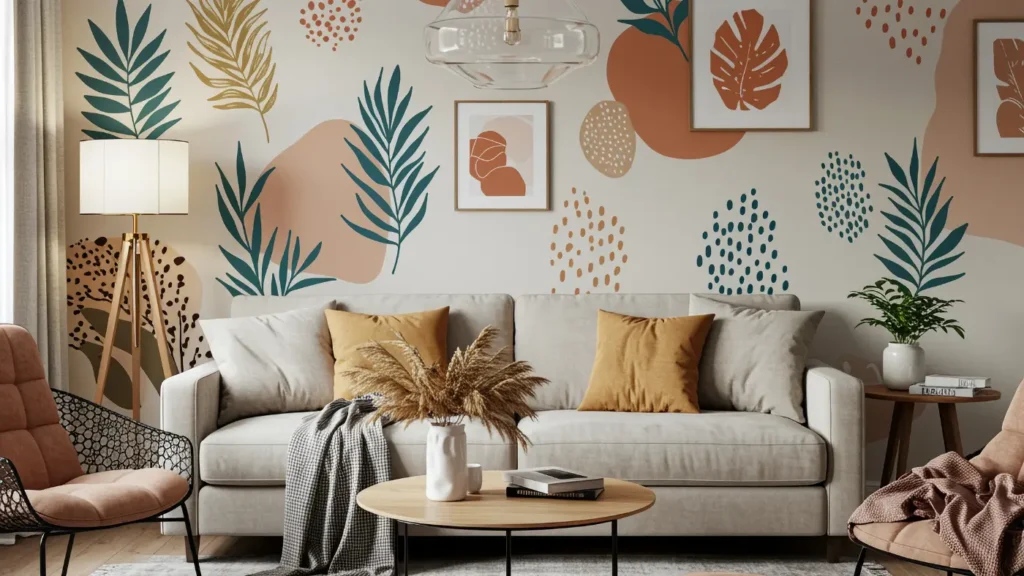
Within that zone, pick a palette that connects to the room. Pull two or three colors from your rug, bedding, or a piece of art you already love and repeat them across the stickers. Mixing too many unrelated hues can feel noisy; repeating a few tones creates rhythm. Cohesion isn’t just color, though. Shapes are a language. If your room has rounded furniture and arched doorways, echo circles, half-moons, or scallops. If it’s cleaner and more angular, lean into lines, grids, and geometric icons.
Place your anchors first. These are the larger pieces that set the balance. Space them so the eye moves across the wall—slightly off center is often better than dead center because it looks more natural. Add medium pieces where you need connection between anchors, and finish with smalls only at the end to sharpen edges or fill awkward gaps. If a section feels busy, take something away. Subtraction is a design tool. And mind the margins: give yourself a few inches between the composition and ceilings, corners, and trim. Crowding the edges is how good work starts to look accidental.
A few sticker wall ideas that hold up
You don’t need a list of ten. A handful of solid formulas can shape nearly any aesthetic, from minimal to eclectic.
The organic cluster. Start with one hero piece and build out from the middle, keeping the arrangement wider than it is tall. Medium stickers hug the anchor, smalls taper at the edges. This reads like a “cloud” and is great above a headboard, dresser, or reading chair. It’s forgiving and easy to edit later—add a new medium when you find a design you love, or remove a small when the edge feels heavy.
The color-block band. Choose two or three hues from your space and create a gentle sweep across the wall, about eye level. Use painter’s tape to mark a soft baseline curve, then place stickers just above and below it so the color appears to move. This quietly unifies mismatched art and textiles because the color band ties everything together. It works especially well on long walls that need a sense of direction without a huge focal piece.
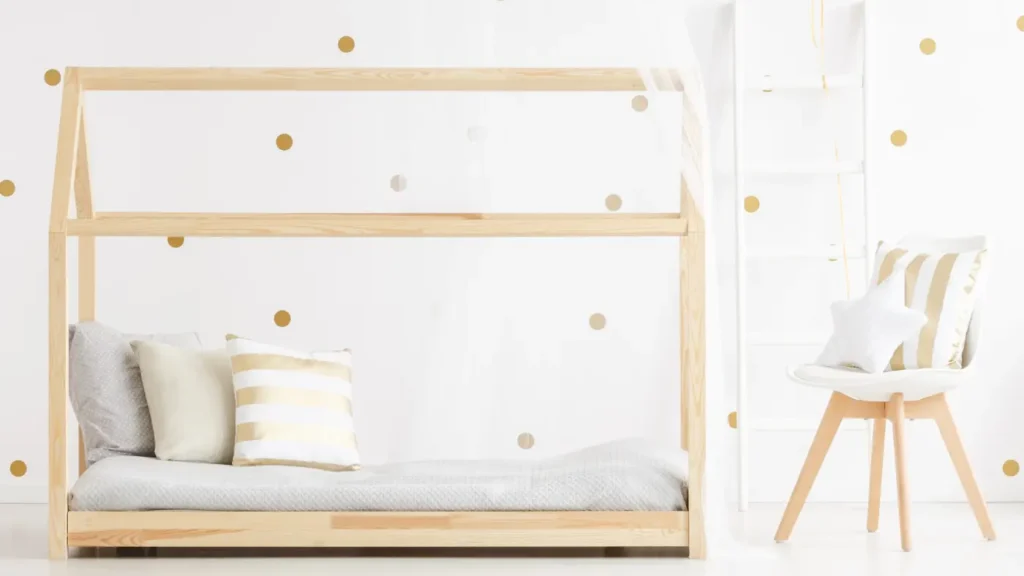
The typographic moment. Pick a short phrase you won’t hate in six months—something you actually say, not a poster cliché—and let it anchor the wall. Keep the typography consistent and surround it with a small set of motifs that share its visual DNA: stars, leaves, abstract dots. The result feels balanced and adult when color and shape are restrained. If you want a little shine, bring in metallic accents sparingly around the words rather than in the words themselves.
These are templates, not rules. The key is to start with an organizing idea—cluster, band, or mantra—and let that idea make your decisions for you. A template keeps you from panic-placing stickers and calling it finished when you’re really just tired.
Installation that doesn’t fight you
Surface prep is simple but worth doing. Wipe the wall with a microfiber cloth and a gentle cleaner, let it dry, and you’re halfway there. If you’ve painted recently, wait for the paint to cure according to the manufacturer. For larger pieces, the “hinge” method saves headaches: tape the top edge where you want it, flip the sticker up like a door, peel the backing from the top down, and smooth as you go with a squeegee or a credit card. This keeps things level and reduces bubbles.
Work from the middle out. Place anchors first, then mediums, then smalls. Step back after every few placements and look at the wall from where you actually enter the room. Cameras lie; your eyes in context tell you the truth. If something sits a bit crooked, you’ll notice immediately when you take three steps back. Fix it then. Waiting until the very end to tweak often means redoing more than you want.
If edges lift—textured paint, dust you missed, or colder rooms can all contribute—gently warm the vinyl with a hair dryer on low and burnish the edge with a soft cloth. It’s usually enough. On heavy texture, remember that simpler shapes stick more reliably than fine, spiky ones; if your home leans orange-peel or stucco, choose designs that play to that reality.
Living with it (and changing your mind later)
One of the biggest advantages of sticker walls is that they evolve. You can swap a seasonal accent, add a new memory from a trip, or streamline the whole thing when your taste shifts. Removal is low drama: warm with a hair dryer for a few seconds and peel slowly at a shallow angle. If you want to reuse pieces somewhere else—a laptop, a notebook, a new wall—stick them onto wax paper or the original backing and store them flat in a folder. Keep a labeled envelope for “winter” or “party” accents if you like to rotate the mood.
If you’re still mapping sizes or figuring out how big an anchor needs to be to read from across the room, a quick reference helps. The ultimate guide to sticker sizes and options breaks down common dimensions and how they behave in real spaces, which is practical when you’re ordering a mixed batch for a wall rather than a single laptop decal. Use it to avoid under-sizing everything—a common Pinterest-to-reality problem.
And if the wall starts to feel busy after a few months, edit. Pull out a handful of the smallest pieces and see how the composition breathes. You’ll be surprised how often subtraction brings the design back into focus. The point isn’t to show every sticker you’ve ever collected; it’s to make the room feel more like you every time you walk in.
The bottom line
Pinterest is a great starting point, but rooms are lived in, not pinned. When you lead with intention, respect scale, and choose a simple composition framework, sticker walls become a legitimate design tool. They’re fast, forgiving, and personal. You don’t need a dozen tricks—just a clear idea and a few good pieces placed with care. The rest is small adjustments: a nudge left, one sticker fewer, a slightly larger anchor. That’s design, and it’s absolutely within reach.

