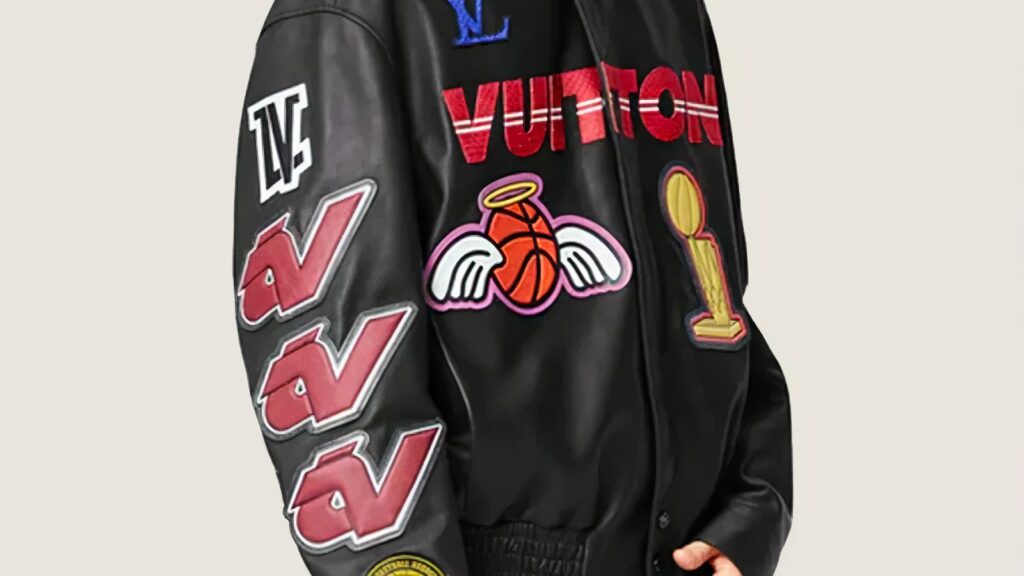
Absolutely, you can attach a DTF (Direct to Film) sticker to a leather jacket, but there are a few steps you should follow to ensure it adheres properly and stands the test of time.
If you love custom jackets, you have probably wondered whether dtf printing on leather really holds up or if the print will crack after one night out. The short answer is yes, it works. With the right surface preparation, heat press process, and post transfer treatment, you can get durable prints on many leather types that still feel good to wear.
DTF, or direct to film, uses a printed design on special dtf film plus adhesive powder instead of ink going straight into the leather surface. That setup makes it surprisingly friendly for flexible materials like smooth leather, faux leather, and even some thicker leather jackets. The tradeoff is that you have to account for leather flexibility, ink adhesion, and heat so you do not damage the material.
Below is a simple, practical guide for printing on leather jackets and other leather items like bags, shoes, and wallets, plus where to order dtf transfer prints that are ready to press.

How DTF printing on leather works
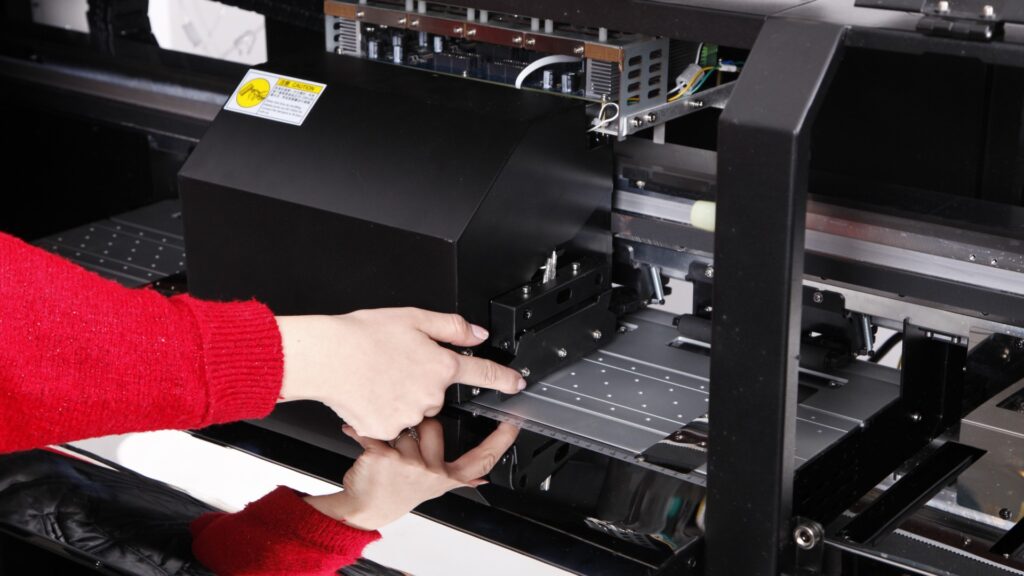
Standard dtf printing starts on a printer, not on the jacket. The printer lays ink onto dtf film, often using a modified inkjet printer or a dedicated dtf printer with the right ink and profiles. The wet ink is coated with a hot melt powder, then cured so it becomes a solid layer that can bond to fabric or leather when you apply heat.
That finished sheet is your dtf transfer. When you press it onto a leather surface with heat and medium pressure, the adhesive re-melts and grabs onto the jacket. Because the ink lives in that thin film layer, dtf printing on leather can carry very detailed designs, gradients, and tiny text with good print quality and color accuracy.
Compared with screen printing, the dtf printing process is closer to putting a thin, flexible sticker on the material, but it is softer and more elastic than vinyl. On flexible materials like leather and denim jackets, a well-pressed dtf transfer can stretch and move with the garment without cracking.
Choosing the right leather surface
Not every leather behaves the same under heat. Before you commit, think about:
- Leather types
Real leather, pu leather, and other faux leather blends can all work, but they respond differently to heat. Smooth leather or coated leather is usually safer than suede or very soft nubuck. Suede fibers can scorch or flatten when you apply heat. - Thickness and stiffness
Thicker leather and jackets with a leather stiffener in the body can handle more heat and pressure, but if the leather is very rigid already, a big solid block of printed leather may reduce leather flexibility even more. For very soft or thin leather, keep designs lighter and avoid huge solid rectangles of ink. - Finish and texture
A smooth leather surface or lightly grained finish gives better ink adhesion than a very rough or oily finish. If the leather looks shiny or waxy, clean it well and absolutely do a test print on a scrap or a hidden part before you press the full design.
The same rules apply to other leather items. Small phone cases, bags, and wallets can handle dtf printing as long as the surface is properly cleaned and the material can stand the heat. Shoes are trickier; a uv dtf printer and uv dtf transfers may be better there because they use adhesive and UV curing instead of a full heat press.
If you’re looking to get high-quality DTF (Direct to Film) transfers, Softee.com is an excellent choice. Known for their precision and attention to detail, they offer a variety of custom options that make them stand out.
Step-by-step: applying a DTF transfer to a leather jacket
Here is the basic transfer process you can use on a leather or faux leather jacket.
- Surface preparation
- Make sure the leather is properly cleaned. Wipe the desired area with a leather cleaner or isopropyl alcohol on a lint free cloth to remove oils, dust, and old conditioner.
- Let the jacket dry completely before you bring it near the heat press. Any leftover moisture can hurt ink adhesion and cause bubbles.
- Do a test print
- Press a small dtf transfer on the inside hem, under a collar, or on a scrap piece made from the same material.
- Check that the leather does not darken badly, glaze, or show a visible outline that you hate. This quick test tells you whether this leather is suitable and how much heat and time it can stand.
- Set the heat press
- A common starting point for leather printing is around 300–320°F (150–160°C) with medium pressure for 15–25 seconds.
- Because each material is different, use your test print to dial in the exact time and pressure. Too much heat can make the leather shiny or stiff. Too little and the transfer may not bond.
- Align the dtf transfer
- Place the dtf film, print side down, on the jacket in the desired area.
- Make sure the jacket is flat on the press and seams are not sitting under the platen where they can mess up pressure. A small pressing pillow can help level thicker leather or seams on a denim jacket.
- Apply heat
- Close the press and run the full time at your chosen temperature with steady, medium pressure.
- When the timer ends, open the press and move the jacket to a clean surface. Follow the instructions for your specific transfer film on whether to peel hot, warm, or cold.
- Peel the transfer film
- Once it reaches the right temperature, peel the transfer film back slowly and watch how the print behaves. If an edge lifts, lay the film back down, press again for a few seconds, and try another peel.
- When the film comes off clean and the print looks smooth, you are most of the way there.
- Second press and post transfer treatment
- For extra durability, do a second press with a sheet of parchment or silicone paper on top of the print for 5–10 seconds. This helps the adhesive fully flow into the leather surface and can improve durability.
- After everything is cool, you can add a light protective coating made for leather. This step is optional, but a good conditioner or clear protective coating can help the print stand up to regular wear without feeling like a hard patch.
Done right, the finished print should feel flexible, not like a glued-on cardboard plate. If it feels overly stiff, your heat, time, or ink coverage may be too aggressive for that material.
If you want more guidance on long term durability for stickers and labels in general, How to Waterproof Your Stickers is a helpful overview of protecting printed surfaces from moisture and wear.
Troubleshooting ink adhesion and durability
If your print does not look right, it usually comes down to three things: the leather, the ink, or the press settings.
- Edges lifting or poor adhesion
Often caused by dust, oils, or surface contamination. Go back to surface preparation, clean the leather more thoroughly, and check that you are using the right ink and dtf transfer paper for leather. Increasing press time slightly can also help the adhesive grab. - Cracking when you bend the jacket
Thick ink layers on very flexible materials can crack under stress. Try a lighter coverage design, lower temperature with a slightly longer time, or a transfer that is tuned for flexible materials instead of rigid substrates. - Leather becoming too stiff
If the print feels like a leather stiffener glued on top, your heat press process is probably too hot or too long. Back the temperature down and rely more on time and medium pressure. Avoid huge, solid rectangles of color on very soft leather; smaller, broken up artwork will move better with the material. - Uneven gloss or “press box” marks
Use a pressing sheet and make sure your platen is clean. Some leather types will always show a little shine where you apply heat, so keep that in mind when you choose the desired area for the design.
Taking notes from each test print helps you account for different leather products over time, from jackets to wallets and bags.
UV DTF, screen printing, and other options
Standard dtf is not the only way to handle leather printing.
- UV DTF
UV dtf uses a uv dtf printer and special adhesive film. The design is cured with UV light instead of a hot platen, so it can be better for curved or heat sensitive items like phone cases and some shoes. You still press or rub the transfer film onto the leather surface, but you may not need a full heat press. - Screen printing on leather
Classic screen printing works too, especially for bulk orders with simple art, but it needs more setup, careful ink choice, and testing to get good ink adhesion on various leather types. DTF is simpler for one offs, detailed designs, or small batches.
Many shops mix these methods: dtf transfers for jackets and other flexible leather items, uv dtf for odd shapes, and screen printing for huge runs on flat leather goods.
If you want to understand how your sticker and label materials behave in the real world, it is worth reading through Materials Used in YouStickers Products. It gives a good sense of how film, laminate, and adhesive choices affect durability.
Where to get Direct to Film transfers for leather
If you do not want to manage the printing side yourself, you can order dtf transfers and focus only on the transfer process at home or in your shop.
Softee.com is a solid option if you want ready to press dtf transfers made with premium materials and good color accuracy. They handle the dtf printing process for you, including choosing the right ink, dtf film, and adhesive powder so the transfer works on tougher surfaces like leather as well as standard cotton garments. Their prints arrive cured, trimmed, and ready for the heat press so you can create custom jackets, hoodies, and leather items without buying a full dtf setup.
Because the transfers are built to work on flexible materials, they are suitable for things like thicker leather jackets, faux leather vests, and even some structured bags, as long as you follow the basic heat press guidelines and run a test print first. With the leather properly cleaned, the right temperature, and a quick second press, you can get beautiful results that stand up to regular wear.
Whether you are decorating a single statement jacket or adding printed leather details to a whole collection of bags and wallets, dtf gives you precise, durable prints with a fairly simple process. Start small, test on each new material, and refine your settings until you get the best results for your setup.

